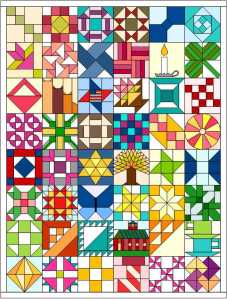
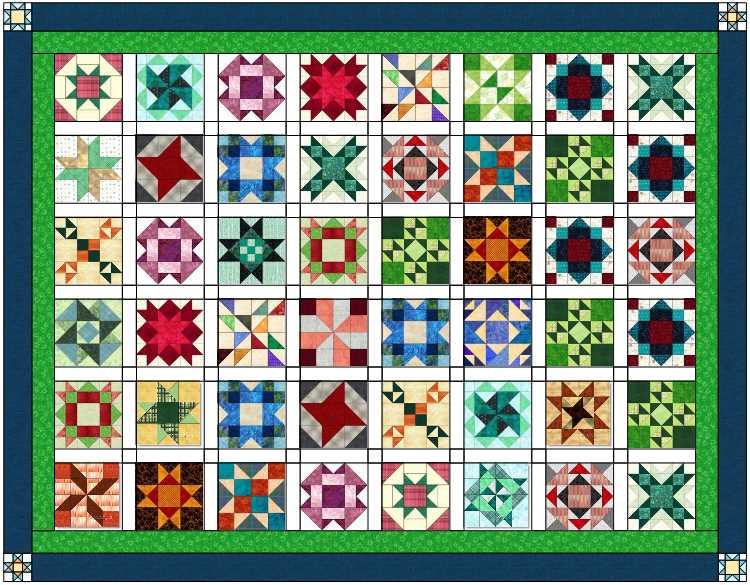
I am starting to finish up an old quilt-a-long that I started back in 2019. I had to stop due to illness and it was put aside until now. I have most of the blocks made and now I am starting to put the rows together. It is called Mini Block Club and is on my blog. It is completely scrappy.
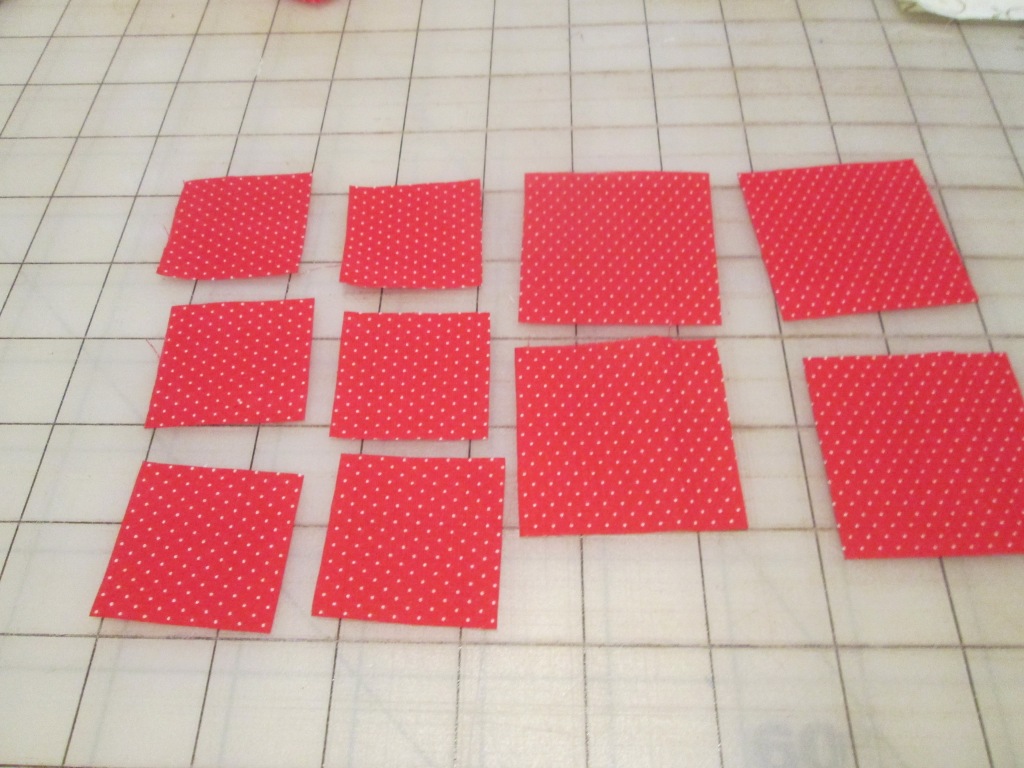
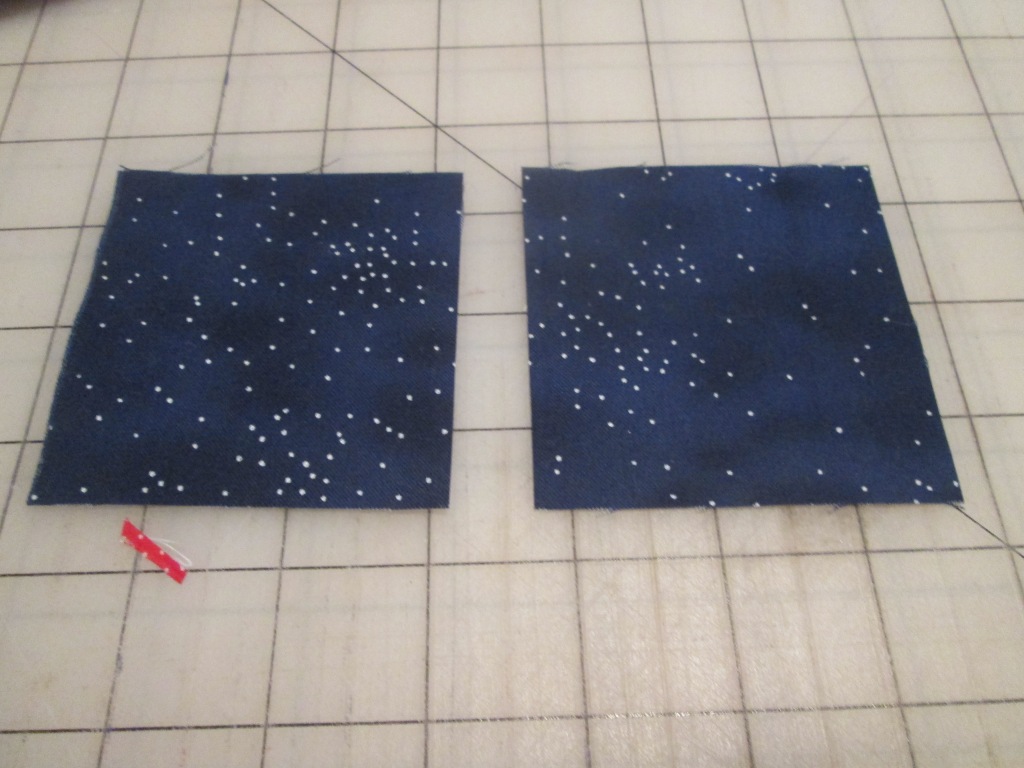
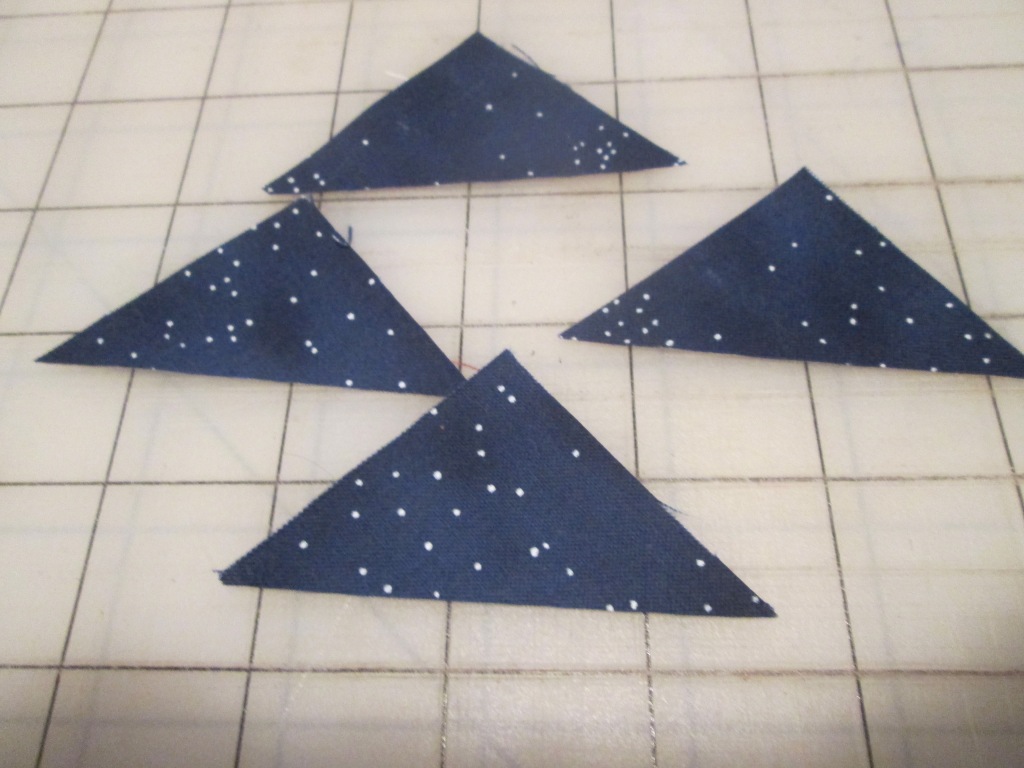
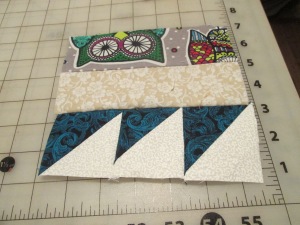
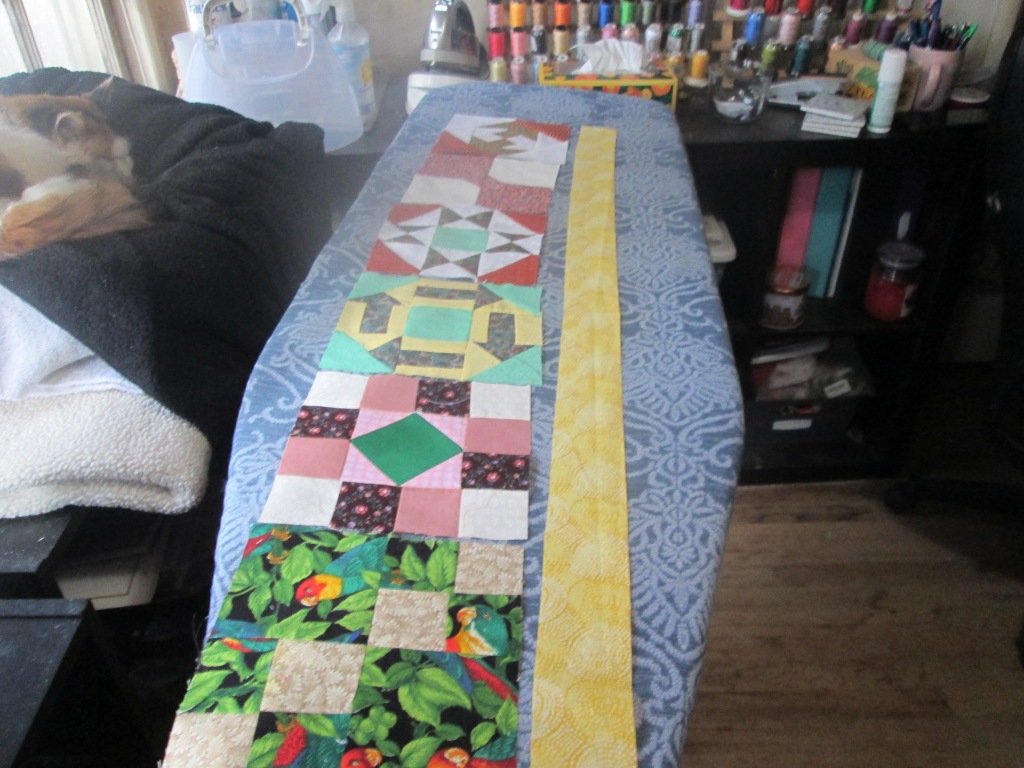
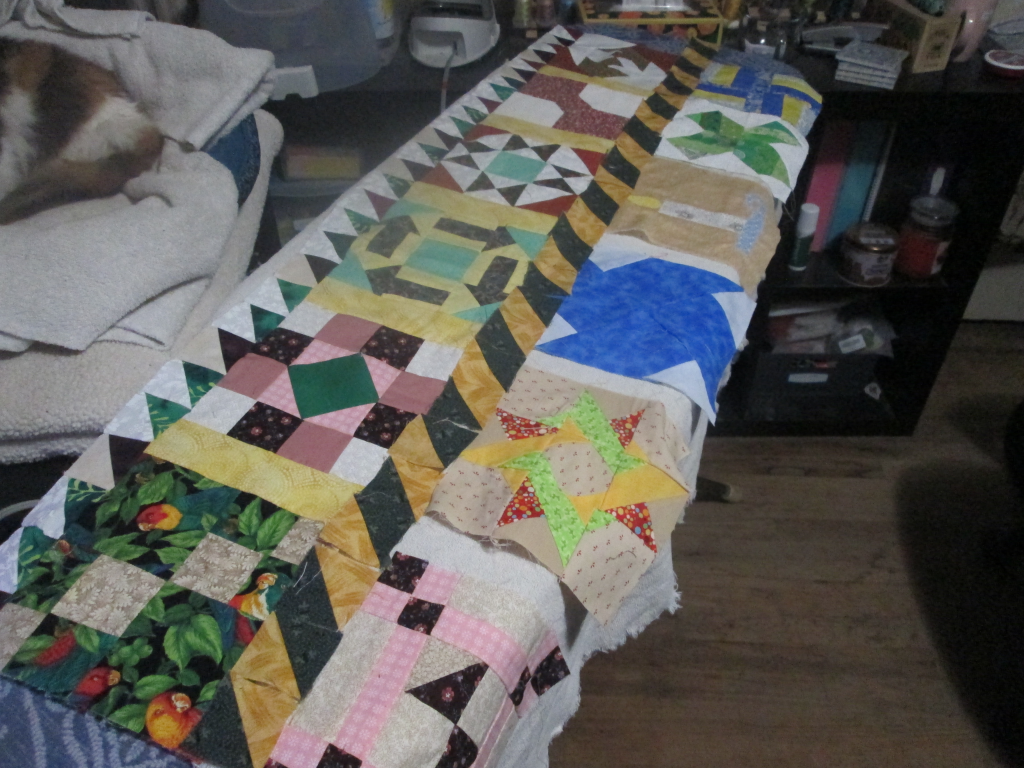
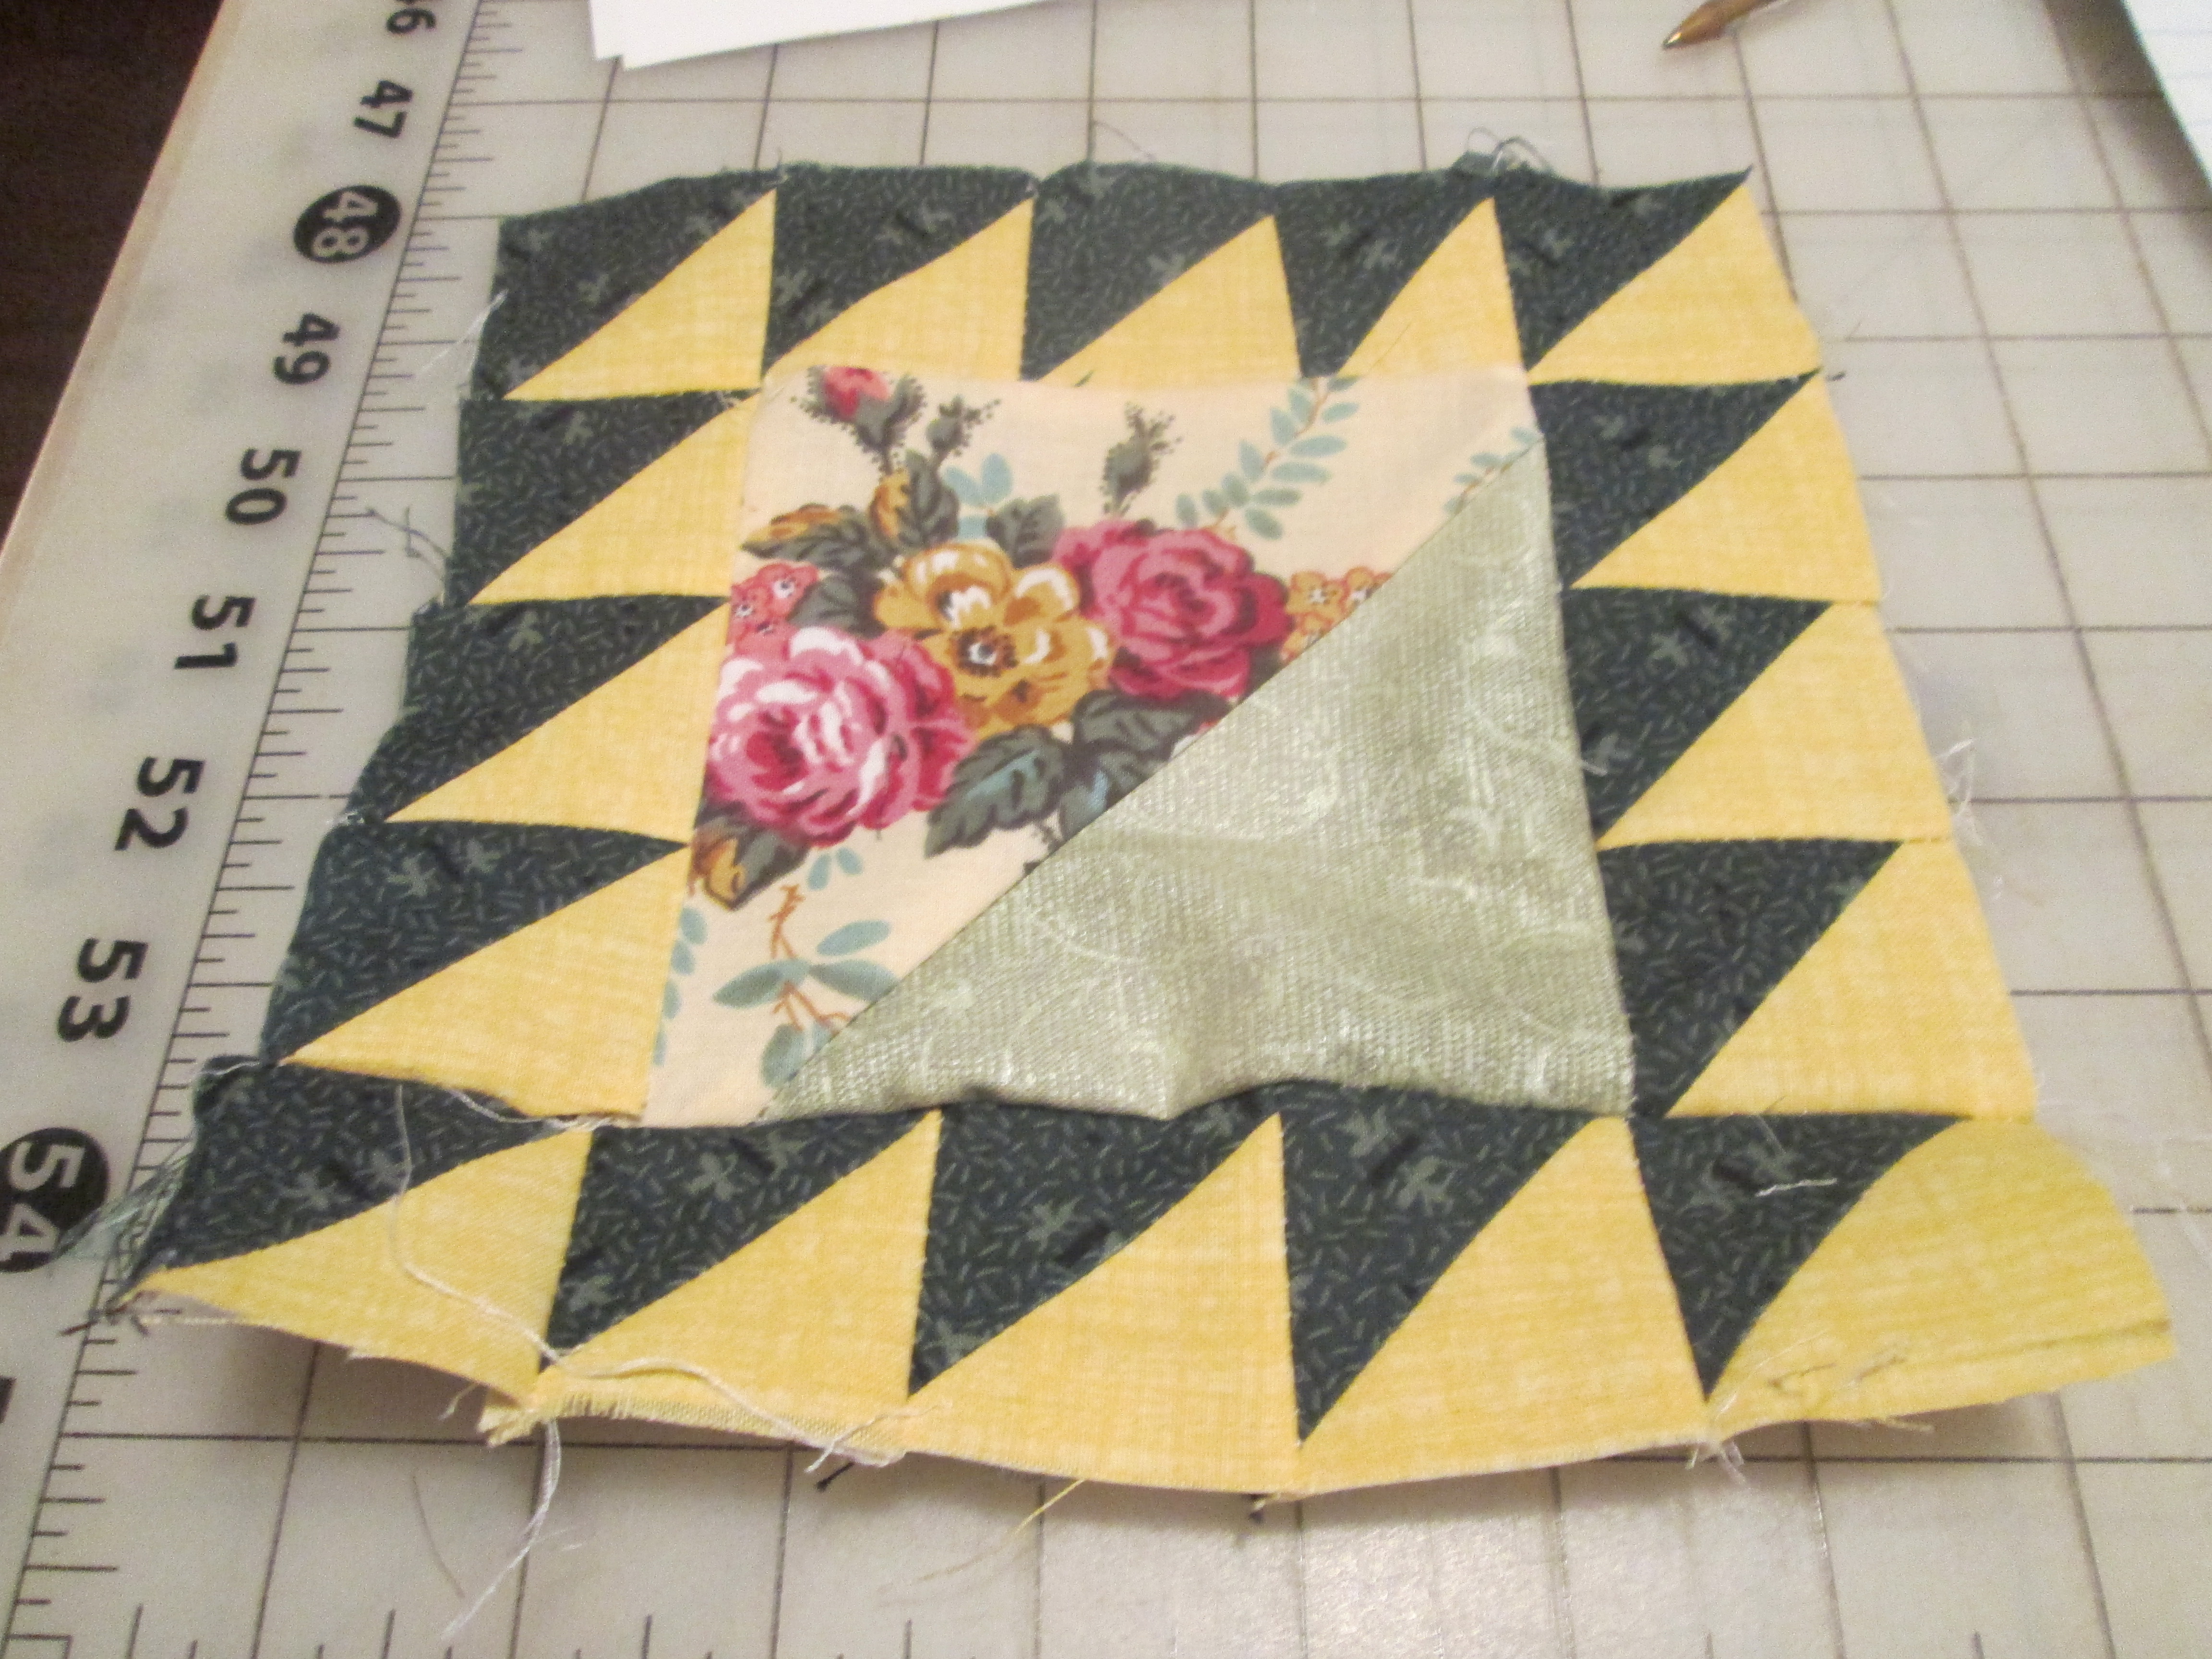
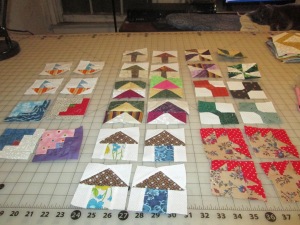
Here is a picture of the first row and then the top border that is all 2 inch HST that was given to me a few years ago. I think this is a good way to use them up. Here are pictures so far.
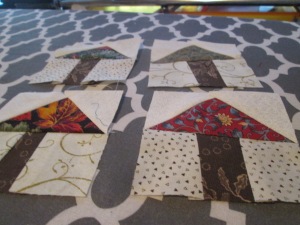
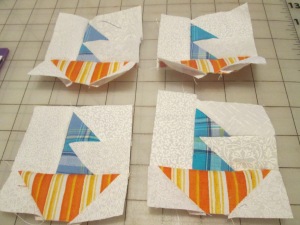
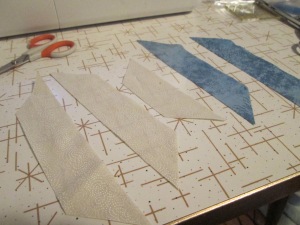
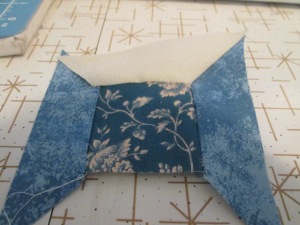
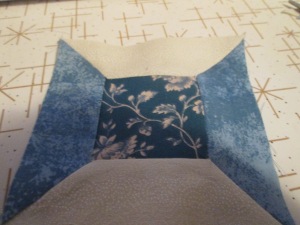
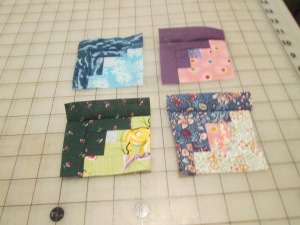
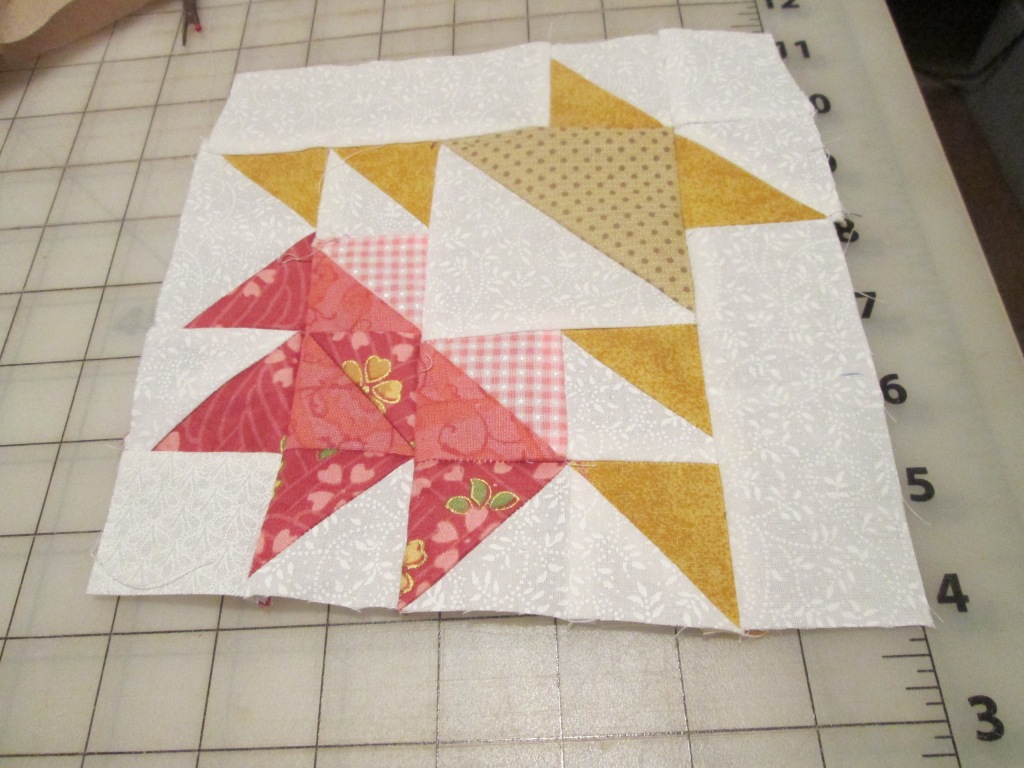
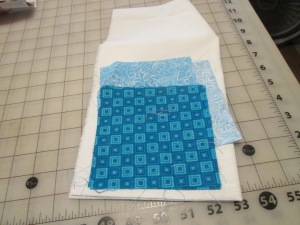
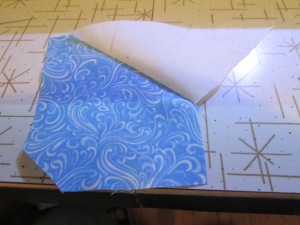
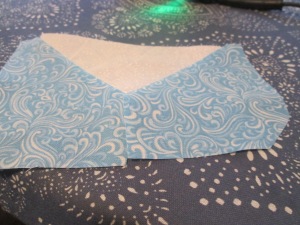
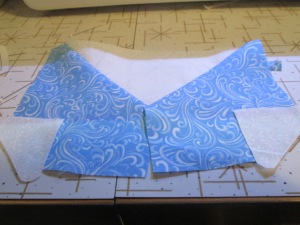
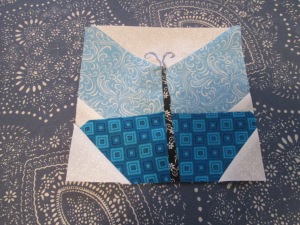
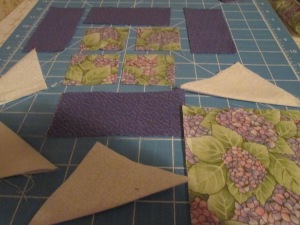
This is my retreat project for this weekend. Wish me luck! I believe that I have 14 blocks left to make but at least I can get a head start on it!
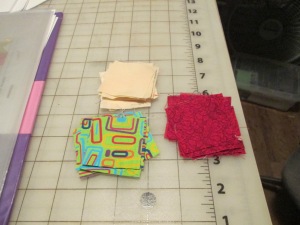
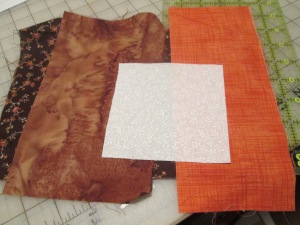
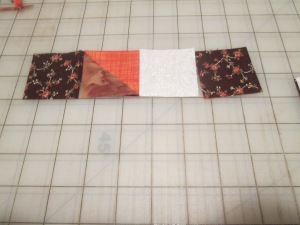
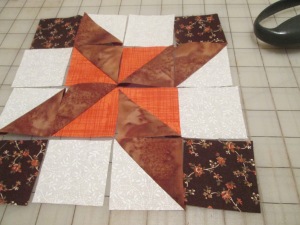
NOTE: Your colors may be different from mine as this is a true scrappy quilt, so please feel free to use whatever colors you think will work best for your quilt top. Me, I am going with whatever scraps I have on hand but I believe that I have enough yellow for sashing.
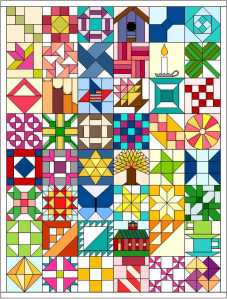
For more information and patterns, go to Mysteries and Challenges, Archives and Older Patterns. https://delightfuldesigns.blog/2019/08/28/complete-list-of-blocks-and-borders/
My apologies for the delay in getting this posted. Things have been hectic at home, but here we go!
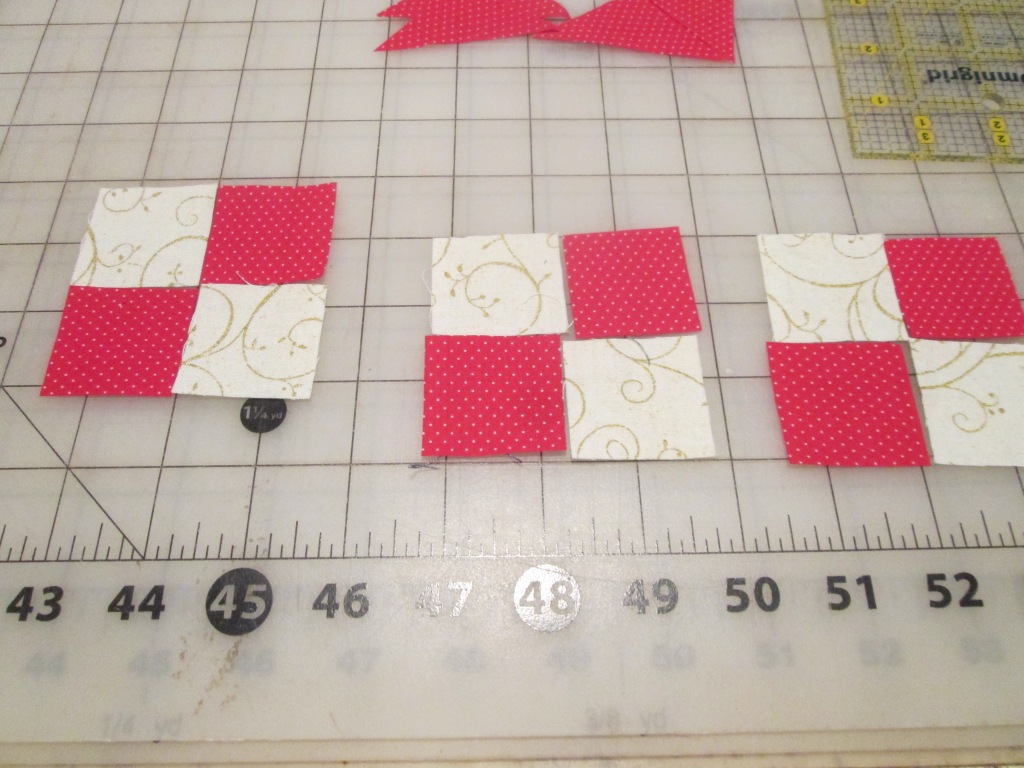
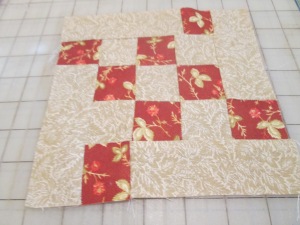
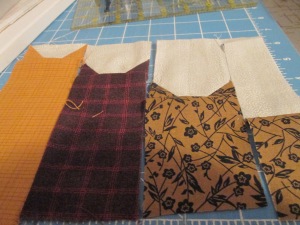
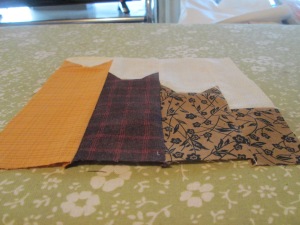
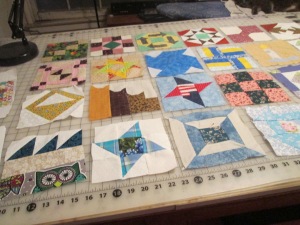
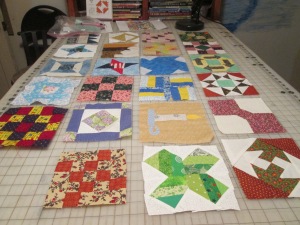
As you can see, these are the blocks for the top row. If you look at the list of blocks you will find that they go in order and there are 6 blocks to row. So that includes the 4 blocks from January and the first 2 from February. And yes, there are mini border blocks, but those will be dealt with later.
JANUARY AND THE FIRST 2 FEBRUARY BLOCKS:
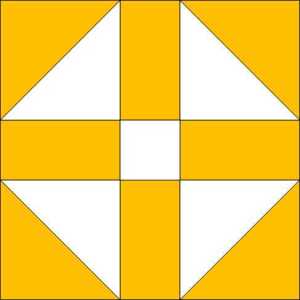
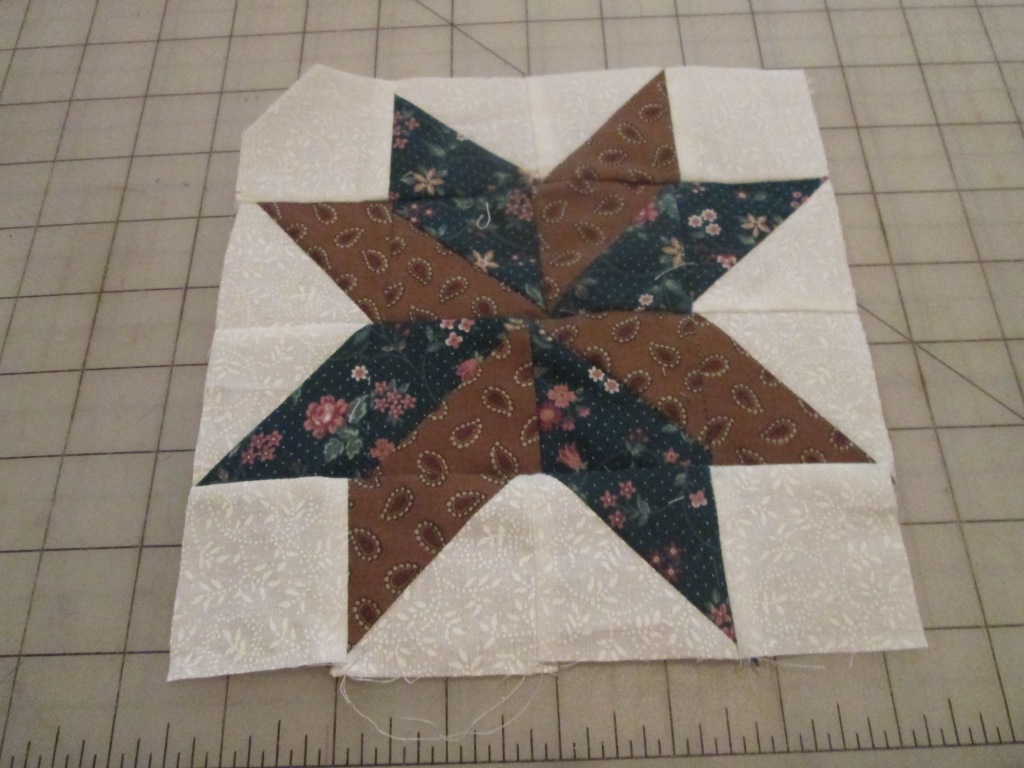
- Four Patch Variation 3
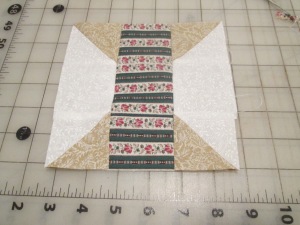
- Susannah
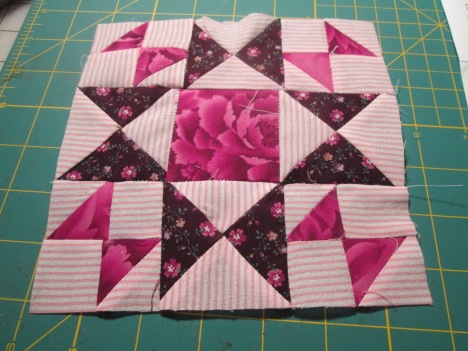
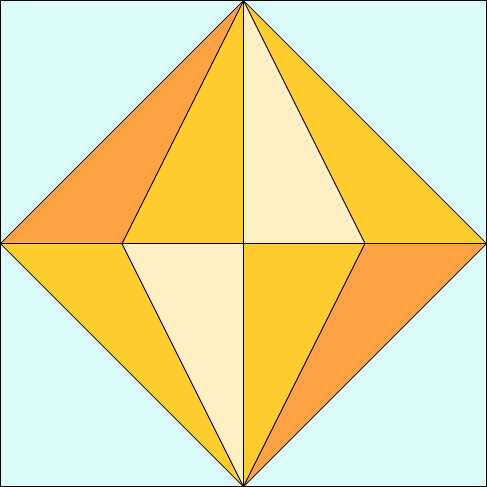
- London Roads
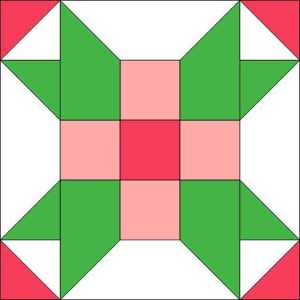
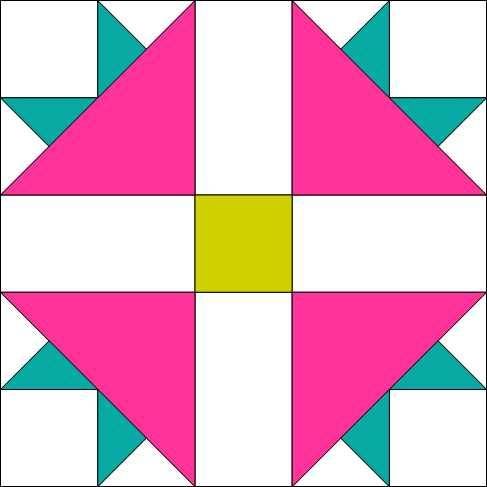
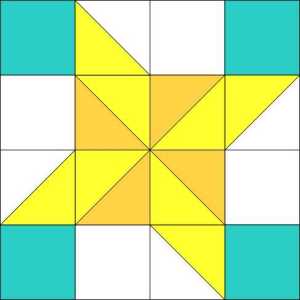
- Ohio Star Variation
- Bow Tie
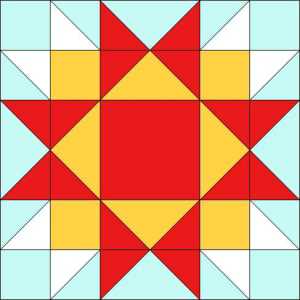
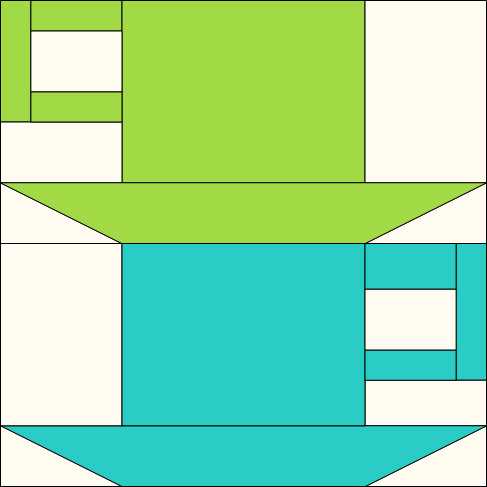
- Monkey Wrench
From the picture above you can see those first 6 blocks and they are laid out. Now, I have decided to go with a light yellow as sashing between the blocks. Above the top row I have added in HST. I decided to go with that as I have a lot of these. And you can see that the second row is laid out underneath it, but not sewn yet.
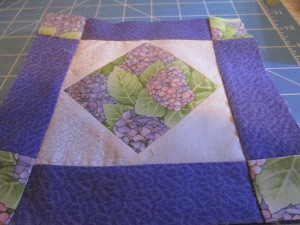
NOTE ON SASHING: I suggest that you sew blocks first, then sashing and then another set of blocks and sew on. And make sure to audition first. You are free to choose whatever style of sashing you want. My sashing blocks measure 2 inches square after sewing.
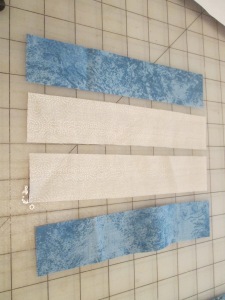
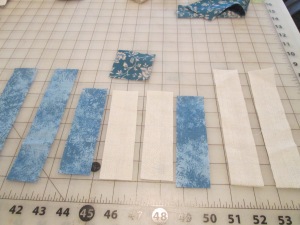
GOING ON TO ROW 2
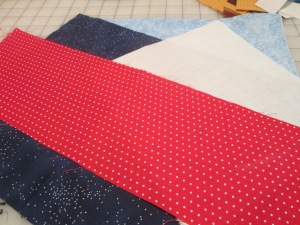
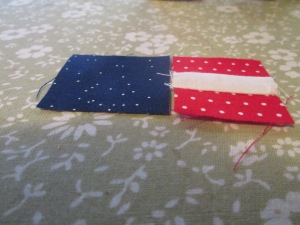
Row 2 laid out but not sewn together yet as I am not sure if I like the sashing in between the rows and I am still deciding on if I want to do another HST block or something else.
FEBRUARY AND MARCH BLOCKS:
- Odds and Ends ** (optional block)
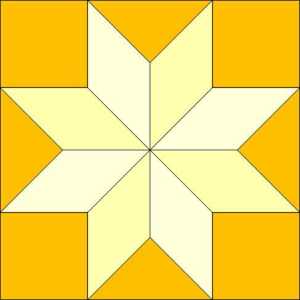
- Entwined Star
- Twin Sisters
- Rail Fence
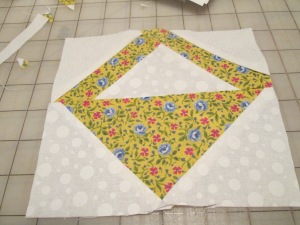
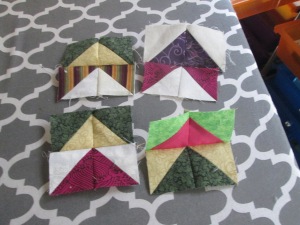
- Candle and Holder
- Striped Shamrock
Please note that I changed the order of the last 3 blocks as they clashed with each other with the colors. You can change them around also if you like.
That is it for today but I will be posting more later this weekend.


:max_bytes(150000):strip_icc():format(webp)/Arkansas-Traveler-Instructions-5818f8b95f9b581c0b6c7cf5.jpg)