You may have noticed that the picture is not up at the top. That is because I have been going through some of the blocks and have determined that a few may not look just right because of their original size, number of pieces, and style and may not translate well into this quilt. I am auditioning other blocks to see if they might work out a little better and that is part of the reason that the blocks are a little late this month. Blocks are subject to change and I reserve this right. I will be replacing the picture later this month.
Thank you for your patience.
Hello and Welcome Back!
Yes, it has been a while since I posted but it has been a fairly busy month! But I am back with the 3 inch block for June!
It is a brand new month and what better way to start than with some fun little mini blocks! Remember the summer time when you would go outside, take a good book and read under a shady tree? I loved doing that on long hot summer days!

HST Dimensions |
|
|---|---|
| Finished Block Size |
Trim HST to… |
| 3″ | 1½” |
| 4 1/2″ | 2″ |
| 6″ | 2½” |
| 7 1/2″ | 3″ |
| 9″ | 3½” |
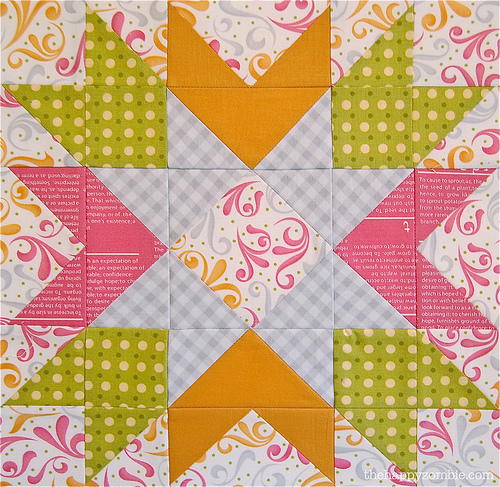
 Churn Dash
Sample Block Size: 6″(6-1/2″ unfinished)
Grid Size: 2″
Two fabrics and simple piecing are all it takes for this block.
I cut my HST patches a bit bigger than the dimensions in the chart, stitch the units and then cut them to size.
Will post pictures a little later.
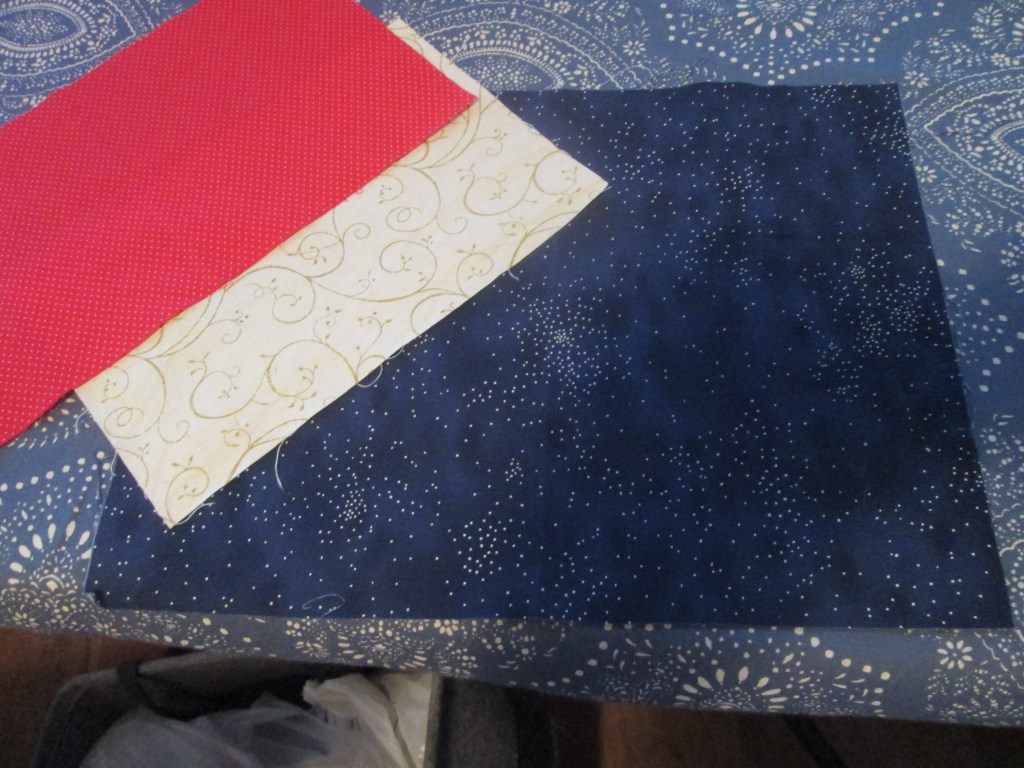
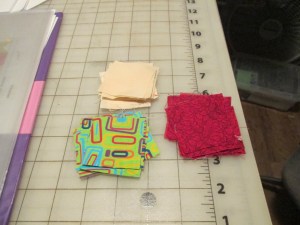
From the background, cut 2 squares 2.5 inches, and 10 squares at 1.5 inches.
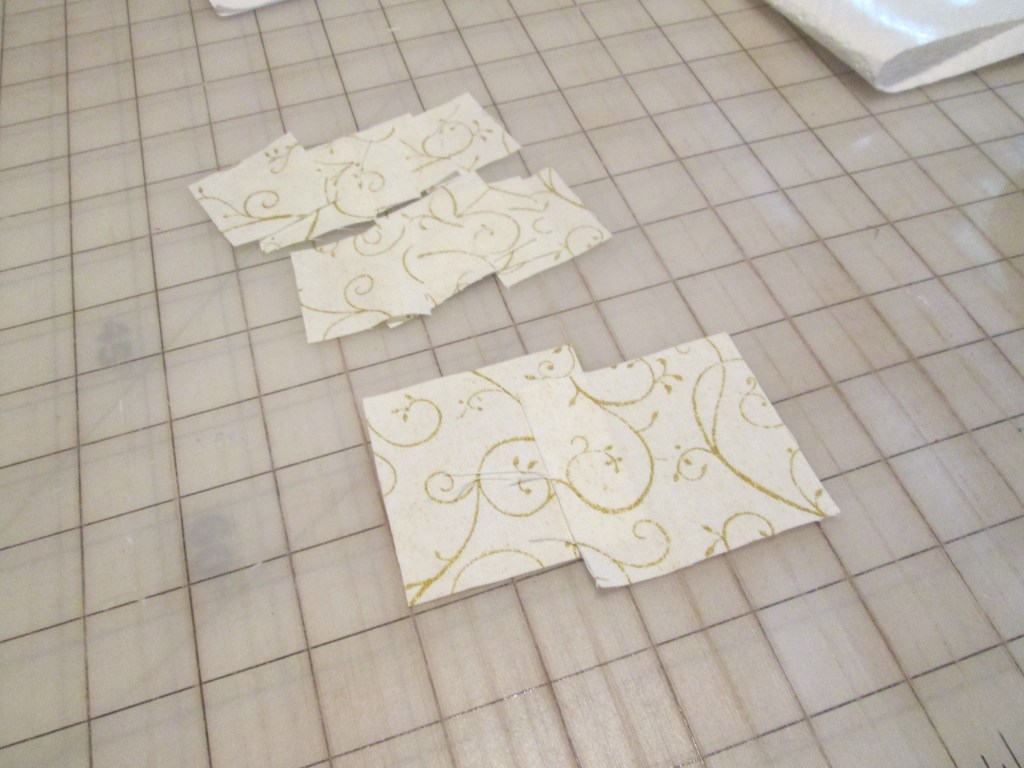
From the contrasting color, cut 6 squares at 1.5 inches. Then cut 4 squares at 1 7/8 inches, and bisect on the diagonal once.
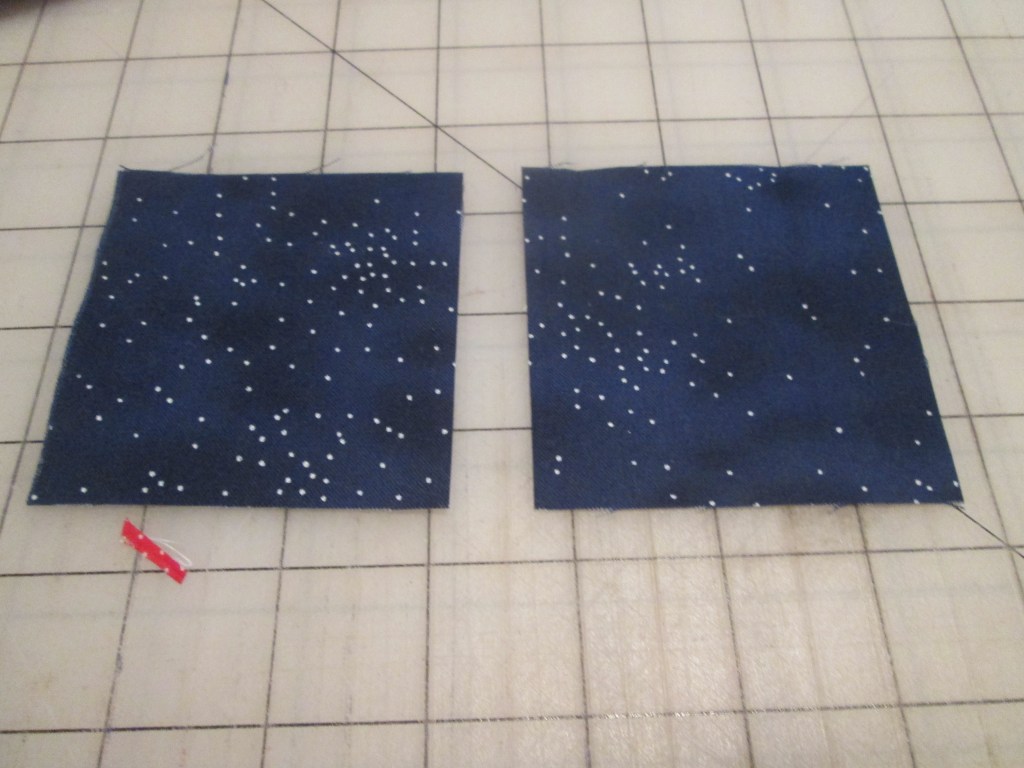
From the dark, cut 2 squares at 2 7/8 and bisect on the diagonal once.


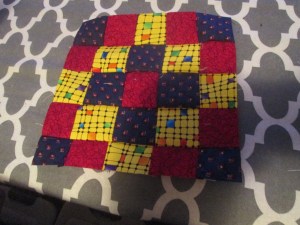
From the 2.5 inches squares of the contrasting and the background, make three 4 patches. See above picture.
The make 4 flying geese units with the remaining background and contrasting color.

The blue triangles will go at the bottom. Now that it is pressed, you can put the block together. Make sure that your pieces are all 3.5 inches. Be careful of the triangle placements.
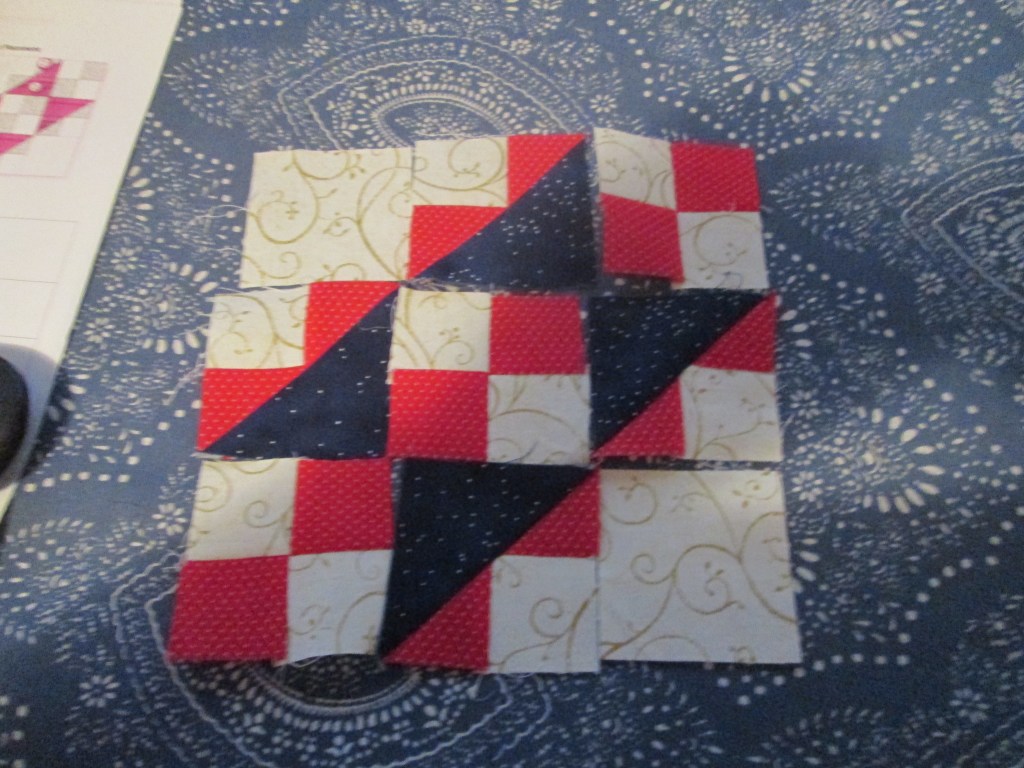
Here is my finished block. I love how the red and blue play so nicely together.

BLOCK #4: ROULETTE WHEEL:
NOTE: This was supposed to be One Wheel with 12 Spokes but it is paper-pieced and I am not comfortable enough to tackle this block, and I did promise no PP. So, I am substituting Roulette Wheel instead that uses up a lot of small triangles. Hope to have it posted later today.
Here is a link to the pattern: https://www.patchworksquare.com/index.php?function=DisplaySheet&sheet=roulette-wheel-quilt-block&links=1&id= Make sure to scroll down a little bit and then click on the picture. That should open it up.
