NOTE: I started a new post as the other was too long, so from here on out I will be making a new post each month. This means that if you’re new to the group that you will have to go back a little to find the previous posts.
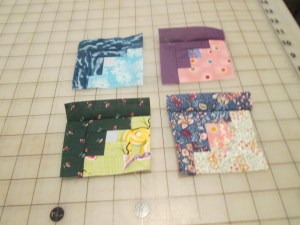
BORDER BLOCKS: ITTY BITTY LOG CABIN
My apologies. The link has been deleted since I found that the measurements are off. I have rewritten the instructions below.
Cutting Instructions for 3 inch Log Cabin (Corrected)
The width will always be 1 inch.
1. Center 1 x 1 inch
2. 1 inch x 1 inch
3. 1 ½ x 1 inch
4. 1 x 1 ¾ inches
5. 1 x 1 ¾ inches
6. 1 x 2 ¼ inches
7. 1 x 2 ¼ inches
8. 1 x 3 inches
9. 1 x 3 ¼ inches
You will now have a block that measures 3 ¼ inches.
APRIL BLOCKS: Will be posted throughout the week as I finish them.
Hello Everyone! Just wanted to let you know that my machine is not working properly at the moment but I will be posting instructions and pictures this weekend. Apologies about the delay!
BLOCK #1: BASKET
This is a very easy block that involves half-square triangles and goes together quickly. You can either use the same focus fabric or another contrasting color for the handle.
From your background fabric, you will need to cut one 5 1/4 inch square. Cut that on the diagonal twice. You will need one for the center. Now cut two 4 inch squares and cut on the diagonal once. You will need those for the outside corners.
For the focus fabric you will need to cut 7 1/4 inch square and then cut on the diagonal twice for 4 triangles. You will also need two 1 1/4 inch strips other at 4 3/8. Cut one end at a 45 degree angle.
SEWING INSTRUCTIONS:
Starting with the bottom of the basket, sew a triangle to either side.
For the handles and top, I started off with sewing one strip to each triangle, press and repeat. Then sew to the larger triangle, pressing afterwards. Now, sew that unit together to the bottom and you’re done! Trim to 6.5 inches.

BLOCK #2: THREE KITTENS
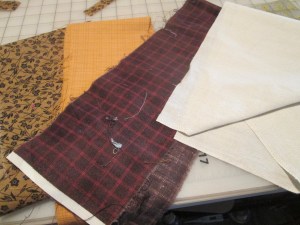
This is a very easy block and is fun to make. These are the fabrics that I chose, all from scraps. You will need 3 focus fabrics and a background.
From the focus fabrics you will need 2 1/4 inch strips of different sizes. For the first cat, you will need a 2 1/4 x 6 inch strip.
The second strip needs to be cut at 4 3/4 x 2 1/4 inches, the third one at 3 3/4 inches and the final part at 2 5/8 inches. You can either cut the final part at an angle or leave it straight. I chose to leave it straight.
Now that you have your bodies cut, arrange them from tallest on down.

For the ears, you will need to cut two 1 inch squares per cat, a total of 6 squares. Place them at the bottom of your background fabric and fold over and sew.
- The first ears will be 1 inch each on either side and the background will be 2 1/4 inches x 1 inch in length.
- For the second ears, it will be 1 inch on either side and the background will be 2 1/4 inches x 2 inches in length.
- The final ears will be on inch on either side and the background will be 2 1/4 inches x 3 1/2 inches.
- For the body it will be 2 5/8 x 4 inches.

Now sew the ears to the body and then sew the strips altogether.

For the ears, if they are off a little bit, don’t worry as it will give your cat a little character!


Here is the final block. Trim down to 6.5 inches.

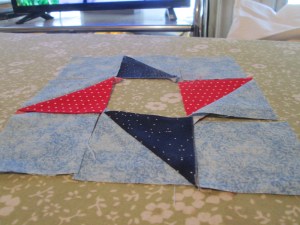
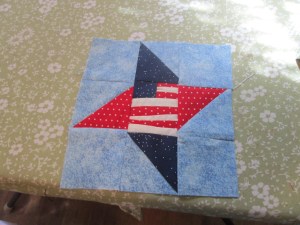
BLOCK #3: FLAG STAR
If you have made a Friendship Star block, then this is very easy to make. Just watch for the center part, that’s where the tricky part comes in.
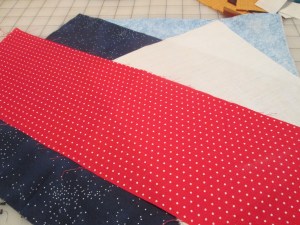
These are the colors I chose, a medium blue, dark blue, red and white.
Sew the block together just like a Friendship Star. You will need four 2.5 inch squares for the outside. You will also need two 3 inch squares cut on the diagonal. Using the red and dark blue, cut those on the diagonal and sew to the light blue background fabric.
For the center, you will need one 1.4 x 1.5 inch rectangle.
Now cut the red and white into strips measuring one-half inch by 1.5 inch. You will need 2 red and 1 white strip.
For the bottom part of the flag, continue to cut at one-half inch by 2.5 inches. You will need 2 of each of color. Starting with the white sew to the bottom of the flag. That will give you 4 stripes. Once that is done, square down to 2.5 inches.

Sew together as a regular 9 patch and you will have finished your block!
My stripes are not completely straight, but I call it wavy stripes. I have large fingers and it’s hard to keep those tiny little strips straight!
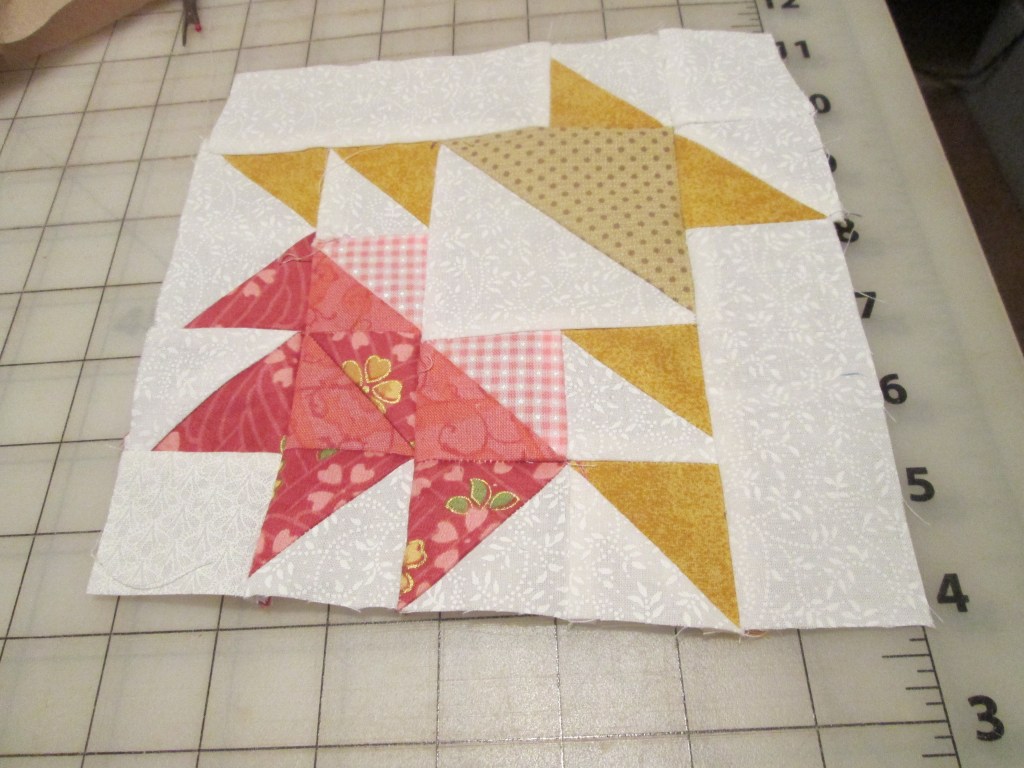
BLOCK #4: GRAPE BASKET
This block looks complicated but if you break it down into units, it’s fairly easy. It’s also a good way to use up your half square triangles. I am attaching the pattern from EQ8. Block #4 Grape Basket, April
You will need 6 colors, dark, medium, light, lightest and background. Here are the measurements needed:
From the background, cut the following:
- One 1 1/2 x 1 1/2 inch square. That will go at the top.
- One 2 inch squares, cut in half diagonally.
- One 3 1/4 inch square, cut in half diagonally twice.
- Two 3 1/2 inch x 1 1/2 inch rectangles. These will go on the outside.
From the darkest, cut the following:
- Three 2 inch squares, cut in half diagonally.
- One 3 inch square, cut in half diagonally. You will use this as the base of the basket.
For the remainder of the colors, cut the following:
- From the medium, cut three 2 x 2 inch squares. Cut on the diagonal. You will need 5.
- From the light, cut one 2 x 2 inch square. Cut on the diagonal.
- From the lightest, cut one 2 x 2 inch square. Cut on the diagonal. You will also need to cut one 3 x 3 inch square, cut on the diagonal. That will be used for the top part of the basket.
Once you have the pattern downloaded, I believe it is easier to work with the pieces as units and sew together. I will be posting pictures a little later.
And finally, here is my finished Grape Basket block.

Leave a comment